OS Name: Windows 10 & 11 AIO 6 in 1
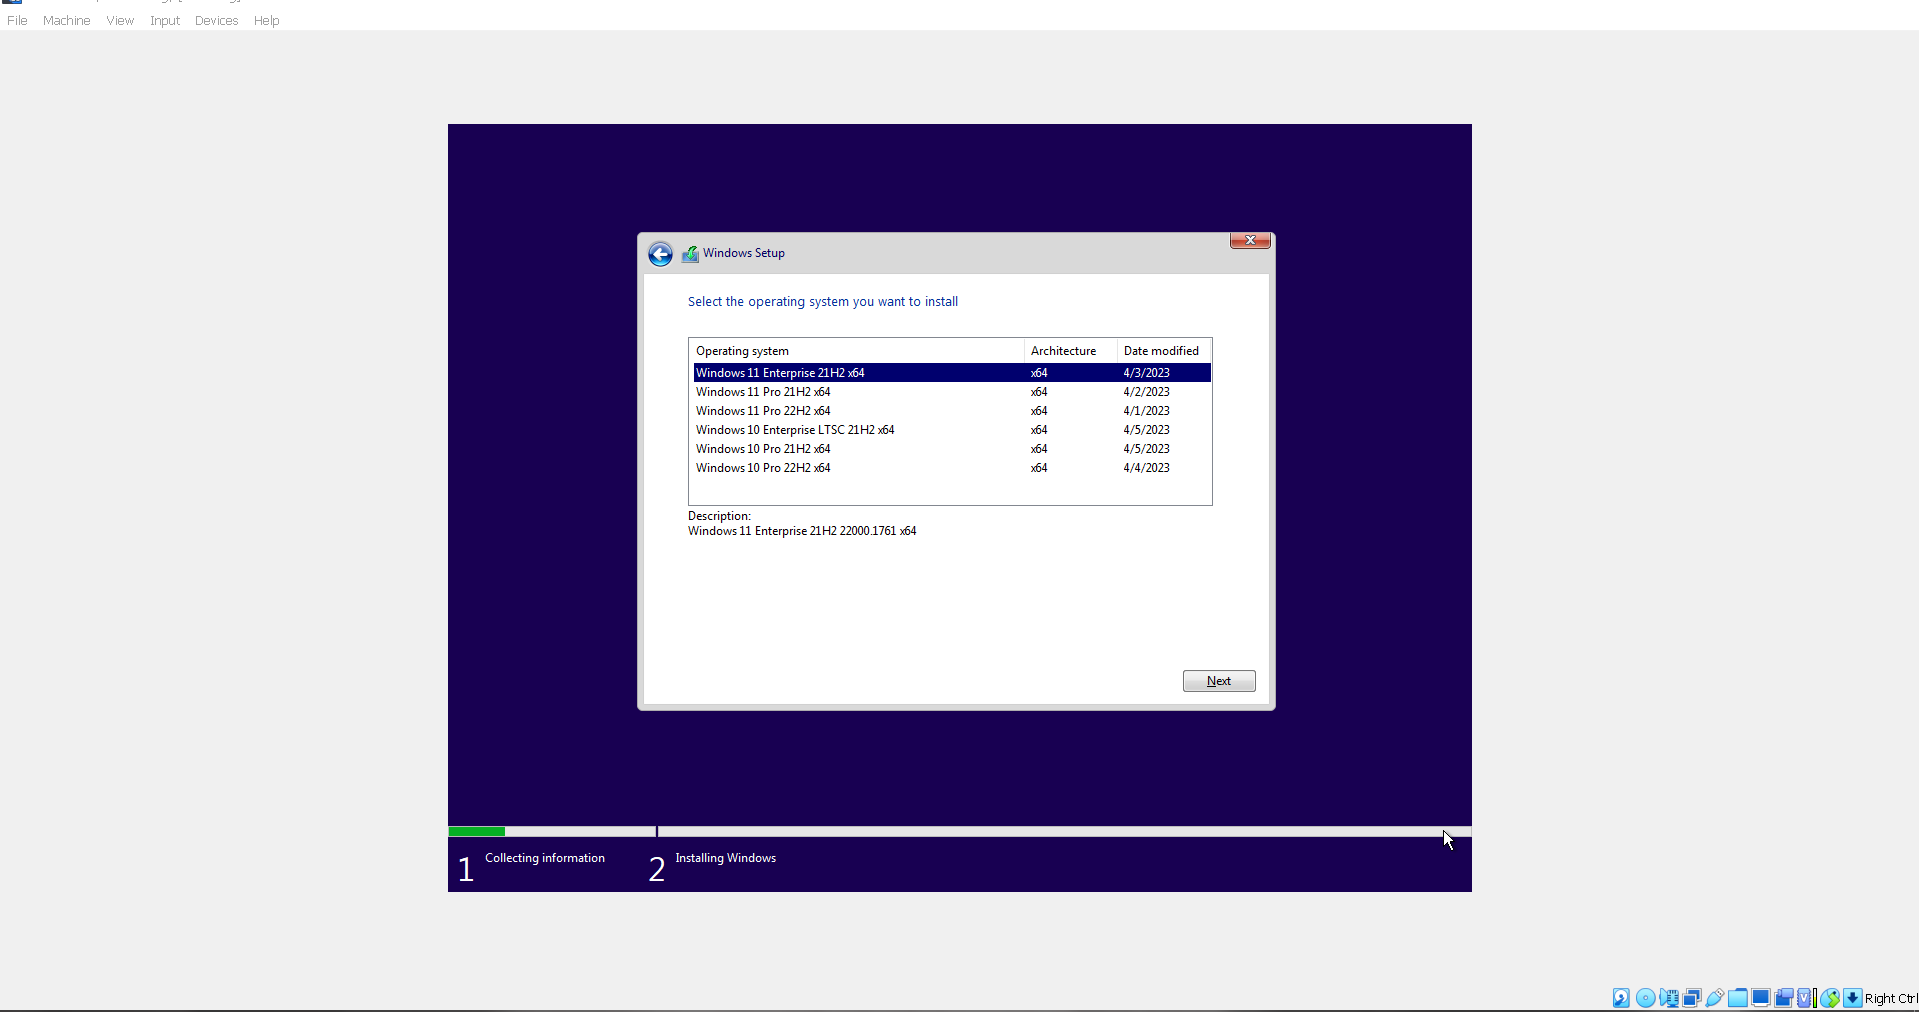
OS versions and Builds included in this ISO:
Windows 10 Enterprise LTSC 21H2 19044.2788
Windows 10 Pro 21H2 19044.2788
Windows 10 Pro 22H2 19045.2788
Windows 11 Enterprise 21H2 22000.1761
Windows 11 Pro 21H2 22000.1761
Windows 11 Pro 22H2 22621.1485
Architecture: x64 (64 Bit)
Size: 16.0GB
Language: English
Author: Dark Wolf
Compression: WIM Max
Activation: Fully Activated, and on Desktop
*To ensure activation, make sure your internet connection is working and you are not behind a service like a VPN, proxy, or any other similar service.
The versions of Windows 11 Pro / Enterprise on this ISO have already been bypassed. No TPM.2.0 checks or other normal checks. This means you can install this on most PC's.
Since Microsoft is going with forcing users to use their online account during setup in Home and Pro versions of Windows 11 22H2 if you are clean installing, there is a way to force it into setting up an offline account if you prefer.
1. Before you setup Windows 11 22H2, ensure that all of your internet connections to your PC is OFF. This is key. Bypass will not work if your connection is working. I've tested it both ways.
2. Once you get to the part in setup where it either says "Oops, you've lost your internet connection" or "Let's connect you to a network", press Shift+F10 at the same time. This will bring up a command window.
3. In the command window, type: OOBE\BYPASSNRO exactly as written. This command bypasses the network requirements in oobe setup. Press Enter. Your system will reboot into setup again. Once you get to this phase again, this time you will see "I don't have internet" on the bottom. Click it. On next page, click "Continue with limited setup" on the bottom. Then you can enter account details for an offline account on next page.
4. Continue on with setup as usual.
Windows 11 Pro 21H2:
To enable offline account setup in setup, simply disconnect your internet connection before setup starts. This will enable Offline account setup. That's it!
Processor: 1Ghz or better
RAM: 2GIG or more
Minimum Hard Drive Space: 25GB
Graphics Card: DirectX9 capable or better
Description:
Assembly made on the basis of the original images from MSDN. Included in the distribution Net Framework 3.5 (includes the .NET 2.0 and 3.0).
Additional info for other features:
To use touch, you need a tablet or a monitor that supports multitouch.
To access the Windows Store and download apps, you need an active internet connection and a screen resolution of at least 1366 by 768.
To snap apps, you need a screen resolution of at least 1366 by 768.
All current updates as of 4/5/2023 integrated
Features installed/enabled:
.Net 3.5
.Net 4.8
Legacy Components
Screenshot:


Copyright Disclaimer:
This site does not store any files on its server. We only index and link to content provided by other sites. Please contact the content providers to delete copyright contents if any and email us, we'll remove relevant links or contents immediately.