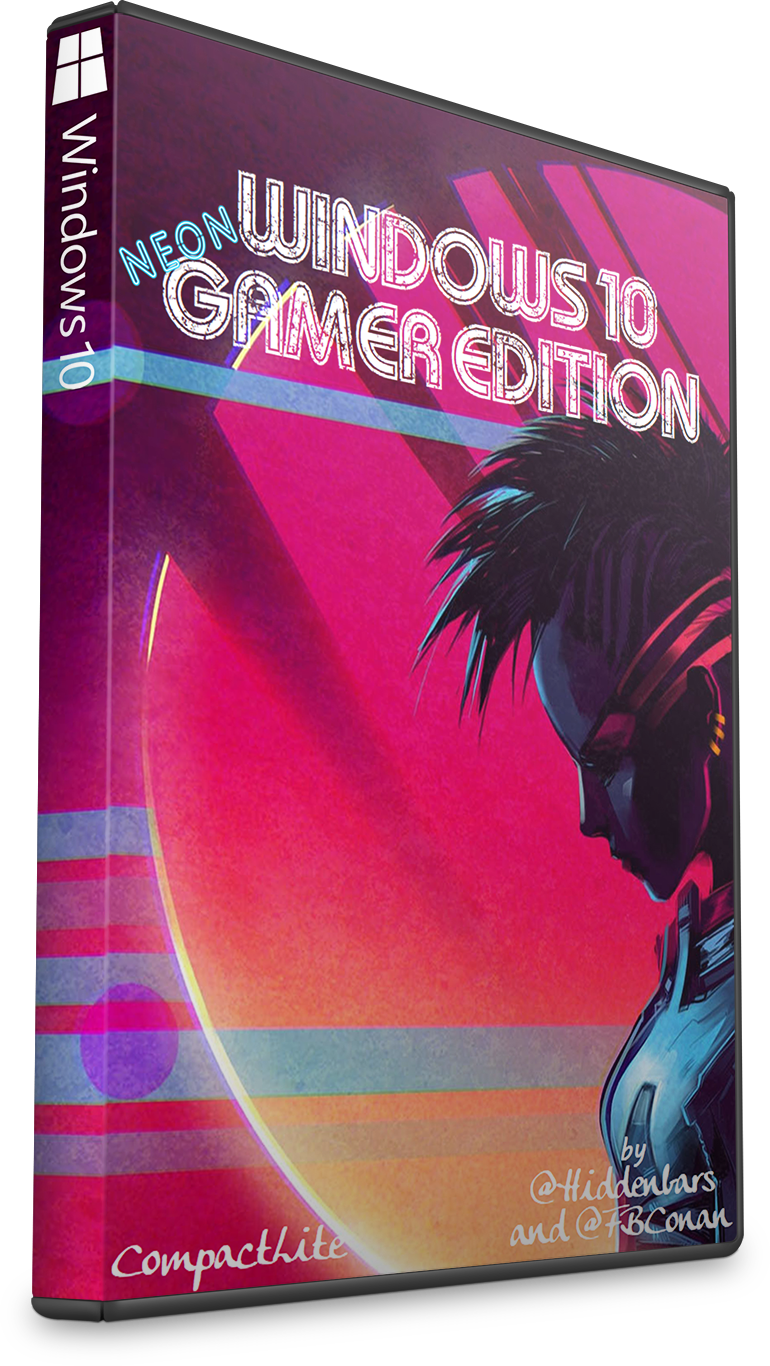
Windows 10 Neon Gamer Edition
(19043.1237) CompactLite
(19043.1237) CompactLite
This build was made for gamers, by gamers.
This build is very similar to my CONAN OS 2 build, with Improved mouse performance, reduced keyboard delay, improved FPS via enhanced Priority control, Reduced Network throttling for faster ping and less package loss, Improved full screen optimizations, and Enhanced Network priority to improve bandwidth for active games and apps.
All to help you perform and aim better, and utilize your full bandwidth in game.
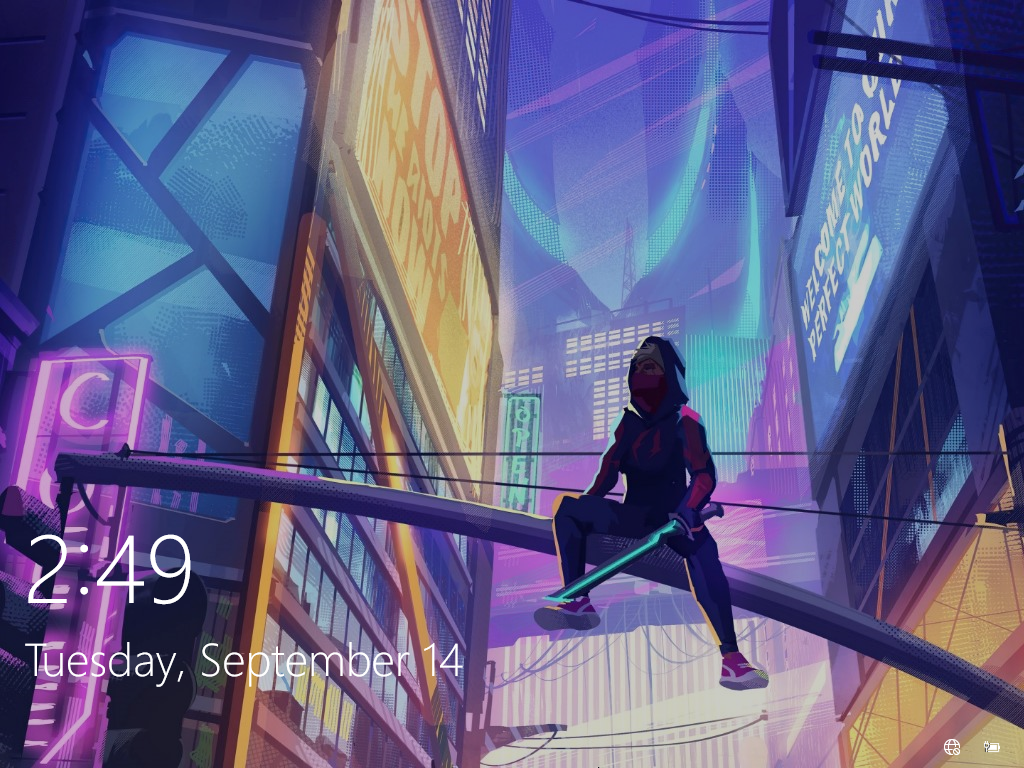
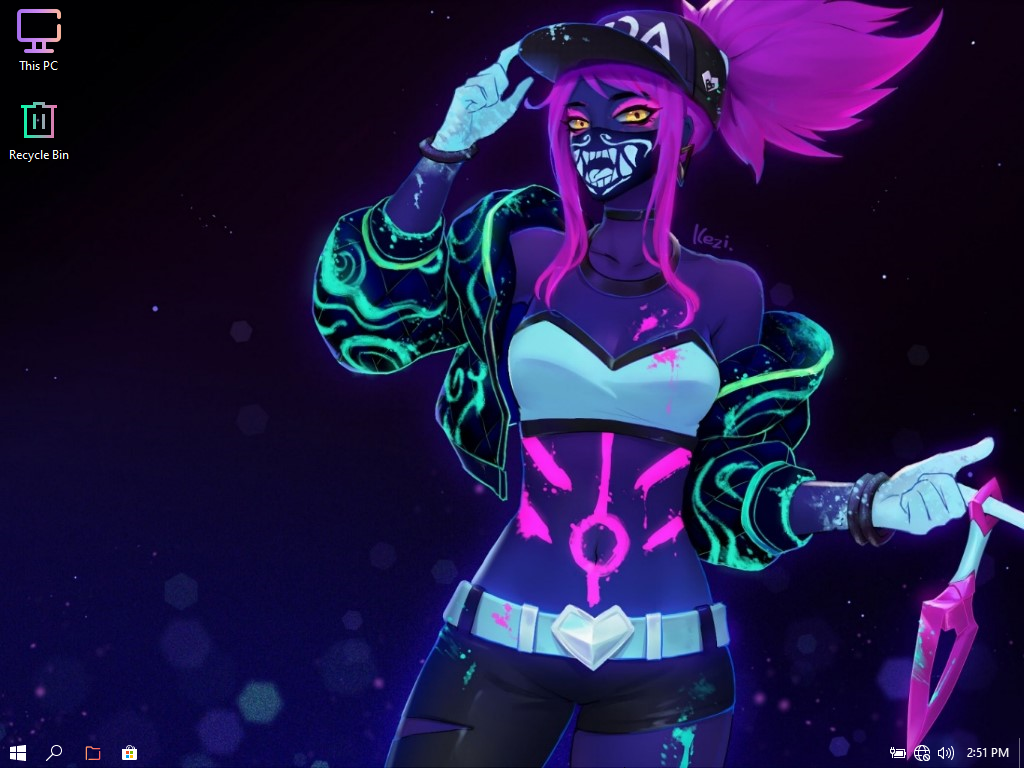
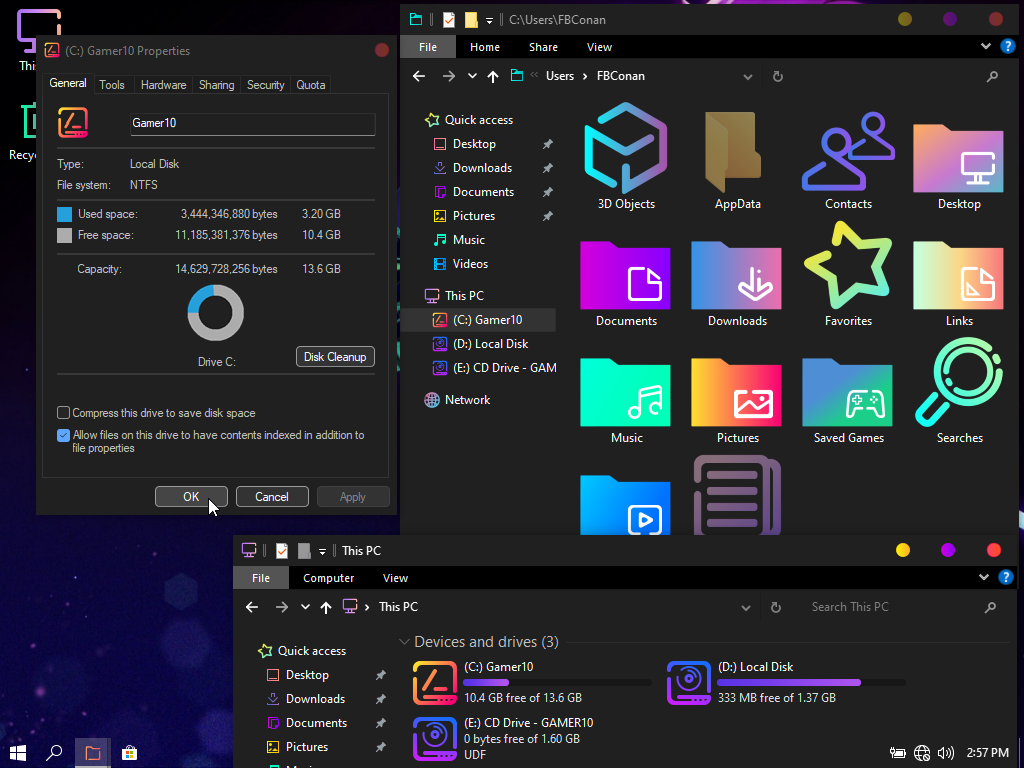
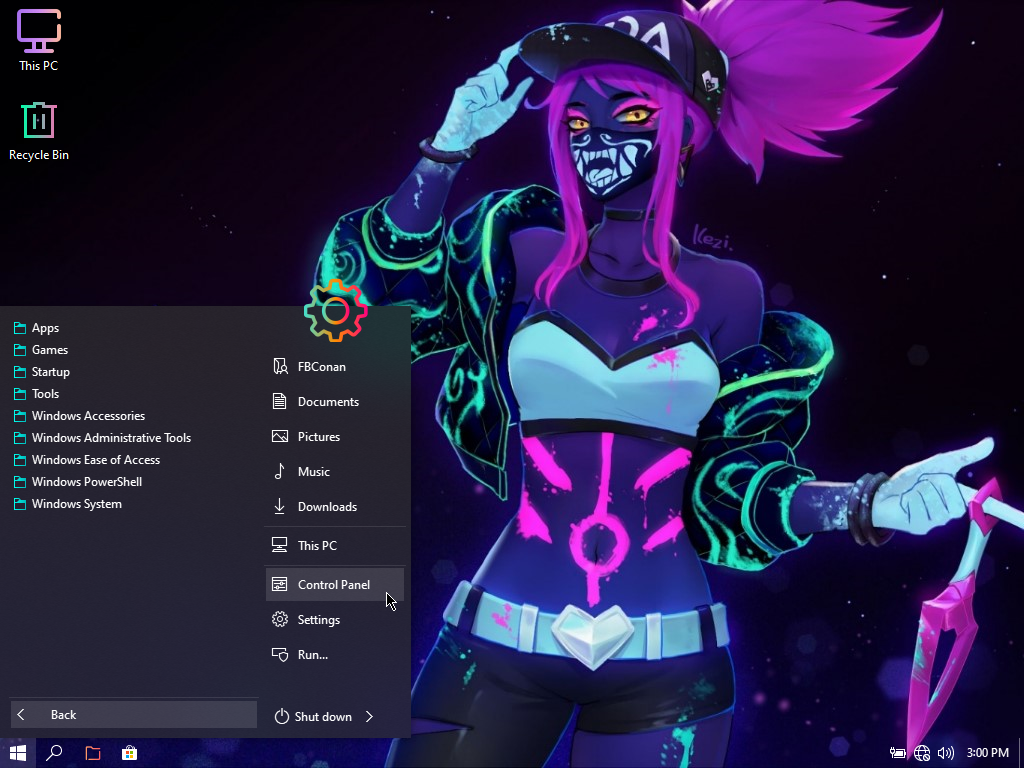
This build features 23 Windows 11 Inspired themes, including 5 PURE Black themes that are sure to please even the most discerning dark theme lover. 16 Neon Gamer Wallpapers, Neon Icons, added support for UWP Apps, XBOX Services, Azure AD, several new Windows Settings including Game Mode and Developer Mode, and more!
Windows 10 Neon Gamer Edition has support for:
Bluetooth ֍ WLAN Connectivity ֍ LAN Printing ֍ Network Sharing
Printing ֍ Mobility Center ֍ Speech ֍ Voice Recognition ֍ XBOX Controllers
On Screen Keyboard ֍ Tablet Mode ֍ Wireless Screen Casting
All Keyboard Nationalities ֍ All Administrative Tools ֍ Metered Connection
Safe Mode ֍ God Mode ֍ MS Store ֍ MS Account ֍ Language Packs
UWP Apps ֍ XBOX Services ֍ Azure AD ֍ Game Mode ֍ Developer Mode
Remote Access ֍ Right Click cmd and Powershell on Desktop
Right Click cmd and Powershell in Explorer ֍ Lock Screen Control
Small Footprint (3.2 GB Installed) ֍ And More!...
Recommended for advanced users
For Clean Install Only
For members who are not aware, many lite / superlite builds remove many things such as included MS Apps (Defender, Mail, Calendar, OneDrive, BitLocker etc.) and they aren't meant to be brought back. It's intended for people who are looking for a leaner Windows experience, more as a core operating system to run their own apps and games, not depending or relying on MS's included apps, browsers, a/v etc. This build follows that tradition.
Some services and features are also removed / disabled, and performance tweaks implemented, which makes it a Lite / SuperLite build One that can provide a smoother, more responsive, less resource hungry OS for interested members.
If anyone wants their taskbar to be transparent like in the screen shots, just change the preinstalled 'StartIsBack' settings to the follwing:
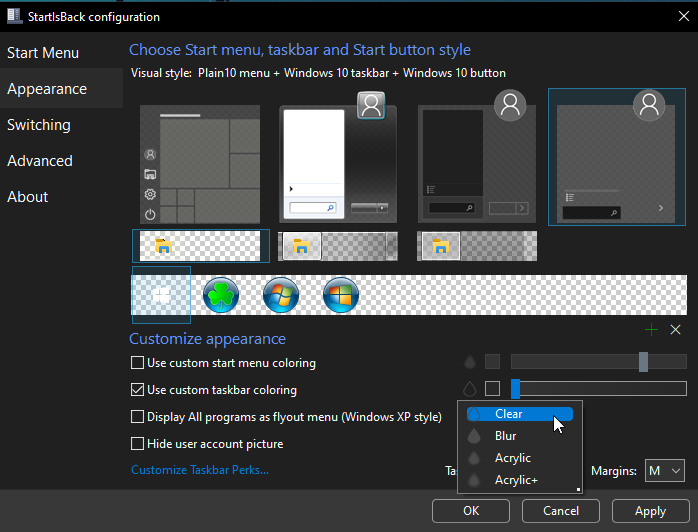
I also recommend enabling the 'shell liposuction' settings, by checking both of the 'Do Not Prelauch' Boxes in the 'Advanced' Settings Tab. Will save you a couple hundred MB of RAM usage.
DESCRIPTION:
ISO Size: 1.6 GB
Installed Size: 3.2 GB
Author: @FBConan and @Hiddenbars
Supported Languages: English during install, Additional Languages after
Architecture: 64 Bit
Edition: Pro (21H1)
.NET Framework 3.5: Pre-Installed
DirectPlay: Enabled
MS Store: Included
SMB1: Enabled
SNMP: Enabled
Network Adapter Drivers: Included
________________________________________________________________
MINIMUM SYSTEM REQUIREMENTS:
RAM: 2 GB
Hard Disk Space: 8 GB
________________________________________________________________
INSTALL NOTES:
Create bootable USB with Rufus Tool, burn to DVD, or install in Virtual Machine
_____________________________________________________________
ACTIVATION:
Not pre-activated, Activator included in 0ptional Folder if needed
_____________________________________________________________
REMOVED:
Defender
Cortana
WinSXS
WinRE
Edge
Windows Mail
Backup and Restore
Mixed Reality
Hyper-V
OneDrive
Some Fonts
Additional Windows Features
Bitlocker
And more...
________________________________________________________________
DISABLED:
Power Throttling
Ads
Automatic Maintenance
Download Blocking
Timeline
Error Reporting
UAC
Telemetry
Hibernation
PageFile
Windows Firewall
________________________________________________________________
ADDITIONAL INFO:
This build cannot receive future OS Features and Updates, and is intended to be that way. Because of this, the OS will remain stable, and the size of it will not grow exponentially like full Windows installs tend to, but remain the same.
To all interested members, thank you for your support, but please be aware that this is a light version of Windows. It does not have every feature in it, many things have been removed to allow it to function with greater performance and less system requirements than Full Windows can offer. If it is missing a feature, or service that you think you need, chances are it was removed intentionally, and can't be brought back. This Windows was designed with most users in mind, which is why it has most essential features and services included. I try to make builds that are highly functional, yet still very light as far as resources and HDD space requirements are concerned. You have been warned. Please don't ask me to add things, fix things, change things, or enable things. I'm not going to respond, or start giving tutorials, use Google. I sincerely hope you enjoy my builds, I am very passionate about light Windows, and hope they provide a good experience for you. If not, maybe another light version will better suit your needs, or perhaps full Windows is what you require.
______________________________________________________
**SPECIAL NOTES** (PLEASE READ CAREFULLY)
You will need to ENABLE the Windows Update Service if you want to install additional language packs, install apps from the MS Store, or to let Windows automatically download and install drivers. It is disabled by default, but there is a shortcut to enable it in the start menu (in the 'tools' folder).
Some services are disabled by default. If you need them, run 'services.msc' and change the startup type of any desired service from disabled, to manual, and apply. (ie, XBOX services, touch keyboard service, biometric service)
For Clean Install Only
For members who are not aware, many lite / superlite builds remove many things such as included MS Apps (Defender, Mail, Calendar, OneDrive, BitLocker etc.) and they aren't meant to be brought back. It's intended for people who are looking for a leaner Windows experience, more as a core operating system to run their own apps and games, not depending or relying on MS's included apps, browsers, a/v etc. This build follows that tradition.
Some services and features are also removed / disabled, and performance tweaks implemented, which makes it a Lite / SuperLite build
If anyone wants their taskbar to be transparent like in the screen shots, just change the preinstalled 'StartIsBack' settings to the follwing:

I also recommend enabling the 'shell liposuction' settings, by checking both of the 'Do Not Prelauch' Boxes in the 'Advanced' Settings Tab. Will save you a couple hundred MB of RAM usage.
DESCRIPTION:
ISO Size: 1.6 GB
Installed Size: 3.2 GB
Author: @FBConan and @Hiddenbars
Supported Languages: English during install, Additional Languages after
Architecture: 64 Bit
Edition: Pro (21H1)
.NET Framework 3.5: Pre-Installed
DirectPlay: Enabled
MS Store: Included
SMB1: Enabled
SNMP: Enabled
Network Adapter Drivers: Included
________________________________________________________________
MINIMUM SYSTEM REQUIREMENTS:
RAM: 2 GB
Hard Disk Space: 8 GB
________________________________________________________________
INSTALL NOTES:
Create bootable USB with Rufus Tool, burn to DVD, or install in Virtual Machine
_____________________________________________________________
ACTIVATION:
Not pre-activated, Activator included in 0ptional Folder if needed
_____________________________________________________________
REMOVED:
Defender
Cortana
WinSXS
WinRE
Edge
Windows Mail
Backup and Restore
Mixed Reality
Hyper-V
OneDrive
Some Fonts
Additional Windows Features
Bitlocker
And more...
________________________________________________________________
DISABLED:
Power Throttling
Ads
Automatic Maintenance
Download Blocking
Timeline
Error Reporting
UAC
Telemetry
Hibernation
PageFile
Windows Firewall
________________________________________________________________
ADDITIONAL INFO:
This build cannot receive future OS Features and Updates, and is intended to be that way. Because of this, the OS will remain stable, and the size of it will not grow exponentially like full Windows installs tend to, but remain the same.
To all interested members, thank you for your support, but please be aware that this is a light version of Windows. It does not have every feature in it, many things have been removed to allow it to function with greater performance and less system requirements than Full Windows can offer. If it is missing a feature, or service that you think you need, chances are it was removed intentionally, and can't be brought back. This Windows was designed with most users in mind, which is why it has most essential features and services included. I try to make builds that are highly functional, yet still very light as far as resources and HDD space requirements are concerned. You have been warned. Please don't ask me to add things, fix things, change things, or enable things. I'm not going to respond, or start giving tutorials, use Google. I sincerely hope you enjoy my builds, I am very passionate about light Windows, and hope they provide a good experience for you. If not, maybe another light version will better suit your needs, or perhaps full Windows is what you require.
______________________________________________________
**SPECIAL NOTES** (PLEASE READ CAREFULLY)
You will need to ENABLE the Windows Update Service if you want to install additional language packs, install apps from the MS Store, or to let Windows automatically download and install drivers. It is disabled by default, but there is a shortcut to enable it in the start menu (in the 'tools' folder).
Some services are disabled by default. If you need them, run 'services.msc' and change the startup type of any desired service from disabled, to manual, and apply. (ie, XBOX services, touch keyboard service, biometric service)
DirectX Legacy Runtimes (DX9, DX10, DX11)
Visual C++ Runtimes (2005 - 2022) x86 and x64
Theme Patcher
Win 7 Calculator
7Zip
Start Is Back
Old New Explorer
Win Aero Tweaker
Everything Search Engine
Firweall Kill / Engage Shortcuts
Windows Update Service Kill / Engage Shortcuts
Dark Theme Fix
7 Included Games
23 Themes
Neon Icons
Visual C++ Runtimes (2005 - 2022) x86 and x64
Theme Patcher
Win 7 Calculator
7Zip
Start Is Back
Old New Explorer
Win Aero Tweaker
Everything Search Engine
Firweall Kill / Engage Shortcuts
Windows Update Service Kill / Engage Shortcuts
Dark Theme Fix
7 Included Games
23 Themes
Neon Icons
Activator
TinyWall FireWall
Chrome
Firefox
Edge
Action Center Enabler / Disabler
IrfanView
mpc-be
uTorrent
IObit Driver Booster
Panda Free AntiVirus
Pot Player
qBitTorrent
AIMP
Rufus
TinyWall FireWall
Chrome
Firefox
Edge
Action Center Enabler / Disabler
IrfanView
mpc-be
uTorrent
IObit Driver Booster
Panda Free AntiVirus
Pot Player
qBitTorrent
AIMP
Rufus
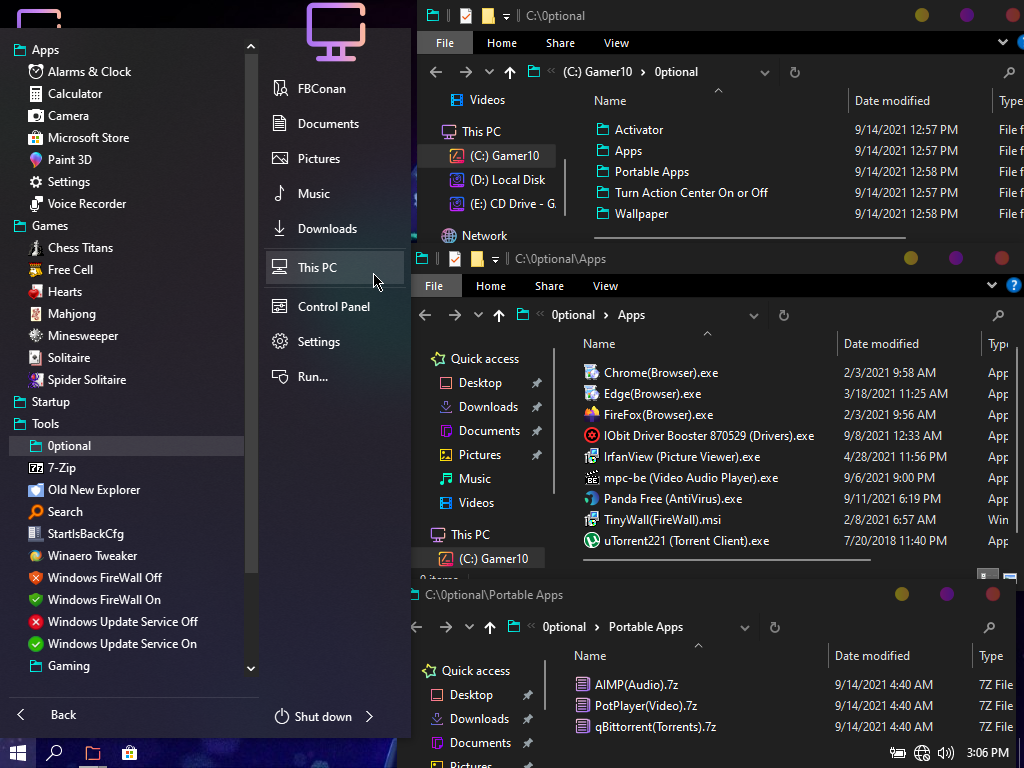
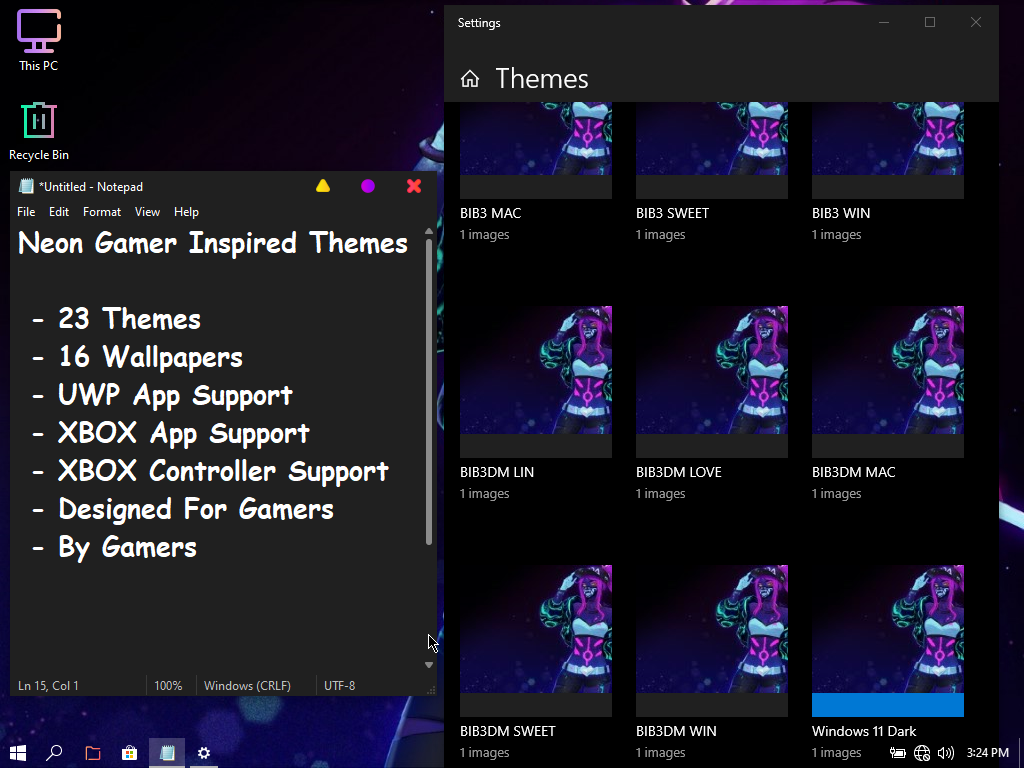
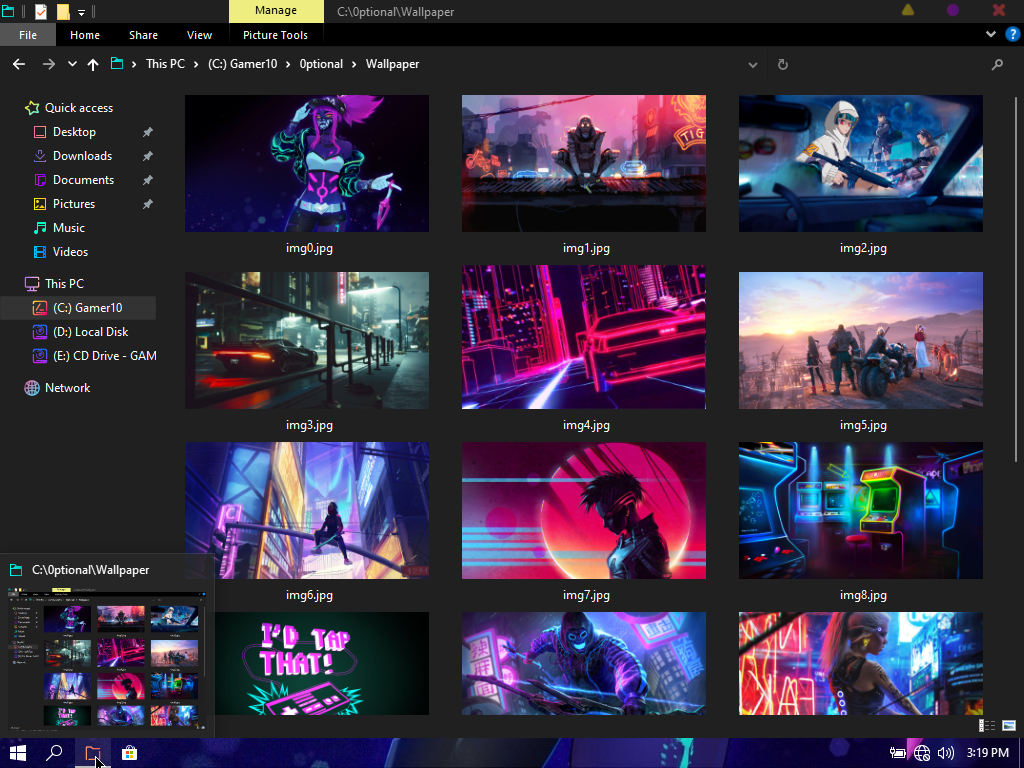
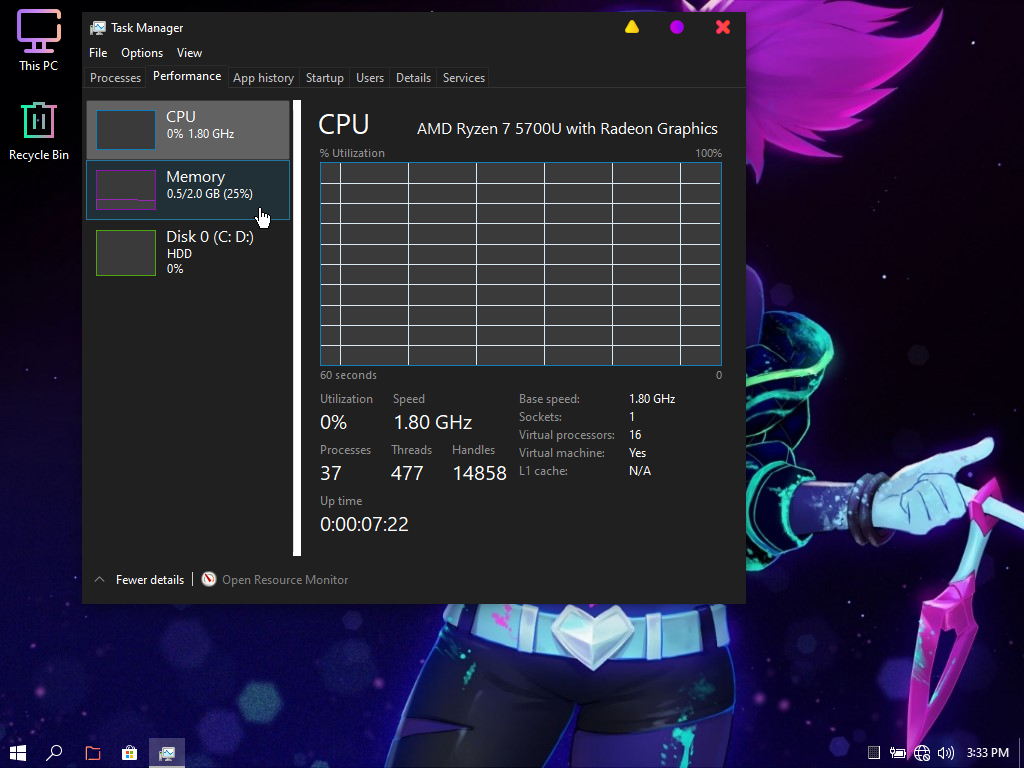
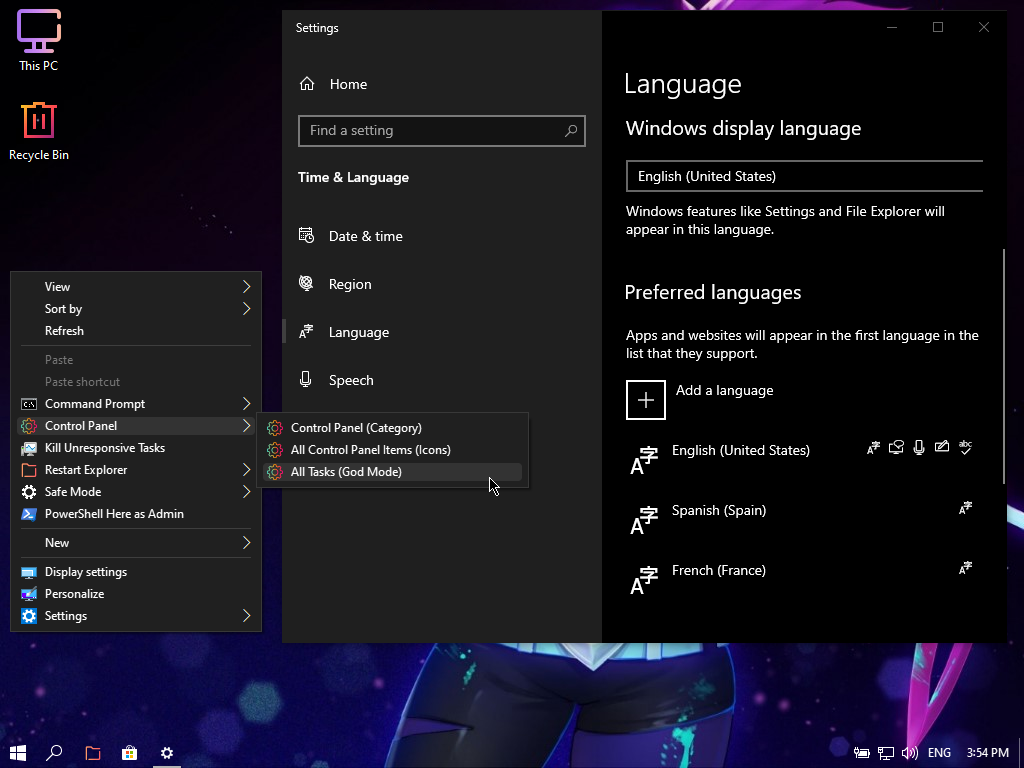
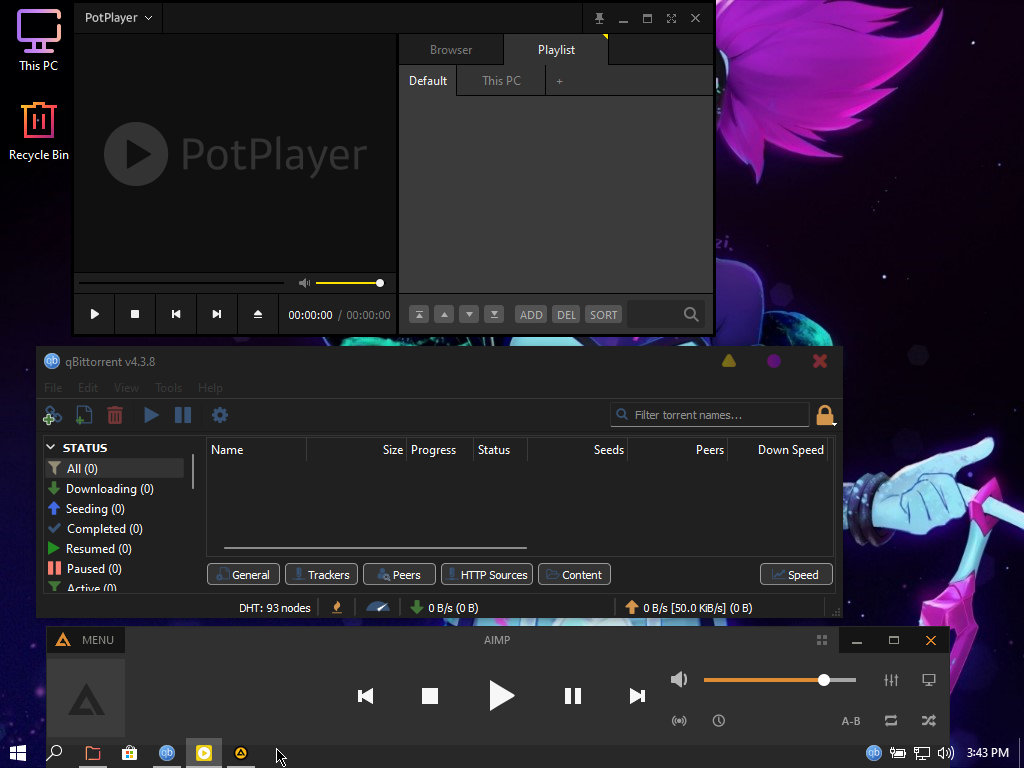
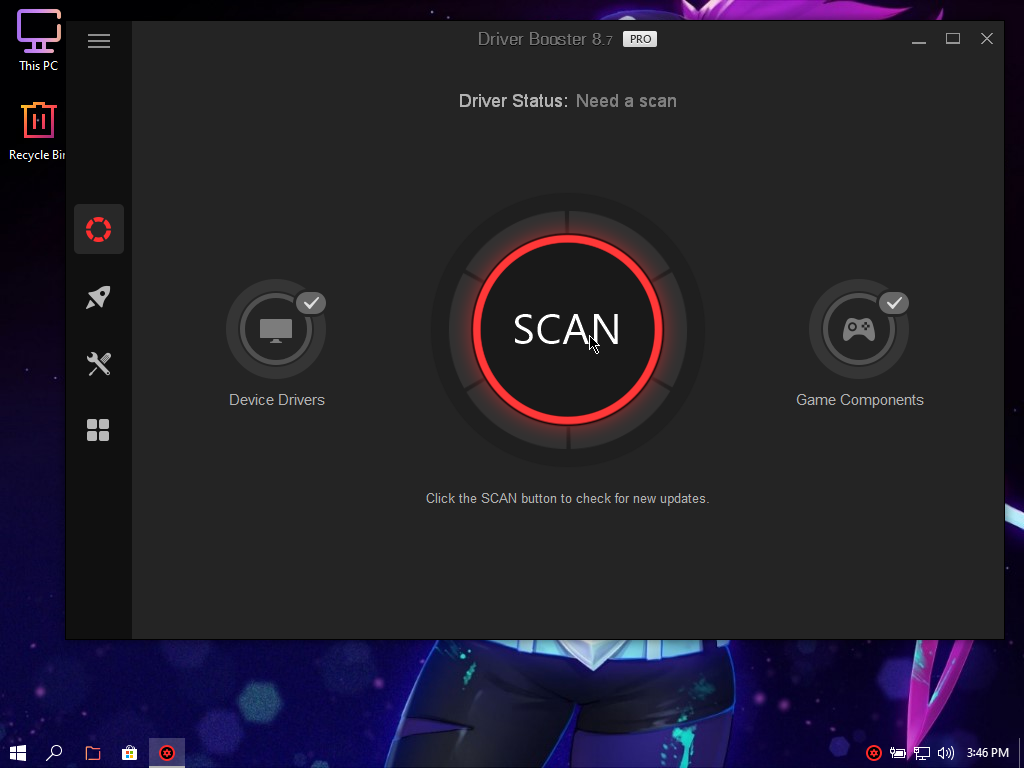
Three shortcuts were added to the start menu in (Tools - Gaming).
Please note, these steps are completely optional, you're welcome to try it, or just leave it alone, it's completely up to you. This will reduce the memory polling rate on your PC, to provide more accurate real-time information of the memory. Reduces input delay, less lag / stutter, boosts FPS, provides smoother gaming. (less FPS drops, lower micro-stuttering).
(Recommendations are that you restart your PC after each step).
STEP 1:
Run the Shortcut 01 Reset bcdedit
This hard resets all the bcdedit values on your PC, in case changes were made after OS installation. I added more reset values for safe precautions before you move over to STEP 2.
STEP 2:
Run the Shortcut 02 Disable Timers
This disables the timers on your hardware / system and that’s why it’s really important that you have ISLC running and starting with your PC as shown below.
STEP 3:
Run the Shortcut ISLC
**Make sure you check the all the boxes where the red dots show on the picture below**
After checking the marked boxes, also change the 'Wanted Timer Resolution' value to 0.50 then click Start
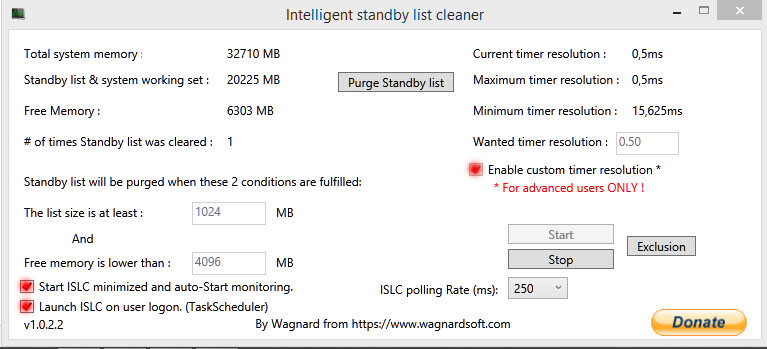
Always have ISLC running in the background on your PC after disabling timers in step 2, otherwise it could make your windows experience unstable, especially in game. *Just make sure you have performed STEP 1 & STEP 2 once for ISLC to be running properly, and starting with your PC.
How do I revert my changes if I don't like them?
If you don't like the changes, just run the shortcut 01 Reset bcdedit and then unmark all the red dots inside ISLC instead of having them marked and then right click on ISLC on system tray and hit EXIT. Now restart your PC. (You are now back to normal values).
Please note, these steps are completely optional, you're welcome to try it, or just leave it alone, it's completely up to you. This will reduce the memory polling rate on your PC, to provide more accurate real-time information of the memory. Reduces input delay, less lag / stutter, boosts FPS, provides smoother gaming. (less FPS drops, lower micro-stuttering).
(Recommendations are that you restart your PC after each step).
STEP 1:
Run the Shortcut 01 Reset bcdedit
This hard resets all the bcdedit values on your PC, in case changes were made after OS installation. I added more reset values for safe precautions before you move over to STEP 2.
STEP 2:
Run the Shortcut 02 Disable Timers
This disables the timers on your hardware / system and that’s why it’s really important that you have ISLC running and starting with your PC as shown below.
STEP 3:
Run the Shortcut ISLC
**Make sure you check the all the boxes where the red dots show on the picture below**
After checking the marked boxes, also change the 'Wanted Timer Resolution' value to 0.50 then click Start

Always have ISLC running in the background on your PC after disabling timers in step 2, otherwise it could make your windows experience unstable, especially in game. *Just make sure you have performed STEP 1 & STEP 2 once for ISLC to be running properly, and starting with your PC.
How do I revert my changes if I don't like them?
If you don't like the changes, just run the shortcut 01 Reset bcdedit and then unmark all the red dots inside ISLC instead of having them marked and then right click on ISLC on system tray and hit EXIT. Now restart your PC. (You are now back to normal values).
Some Fonts have been removed from this build, if you're getting Font or text display errors, it's most likely because the font you need for your specific language support is missing. This mostly applies for some Asian Languages, but you can simply install the missing font(s) that you need for your location, and or language, and it should fix any display errors you are getting. Please click HERE to download additional Fonts.
Network Adapter Drivers ARE Provided in this build, but this is good info regardless 
All you need to do, is download the correct driver for your specific Network Adapter, and copy it to your USB drive, before you install a new OS on your PC, by doing the following:
- Right click on the start button (windows icon, bottom left hand side of screen typically) and go to 'Device Manager'
- Expand the 'Network adapters' category, and look for something in the list that looks like this:
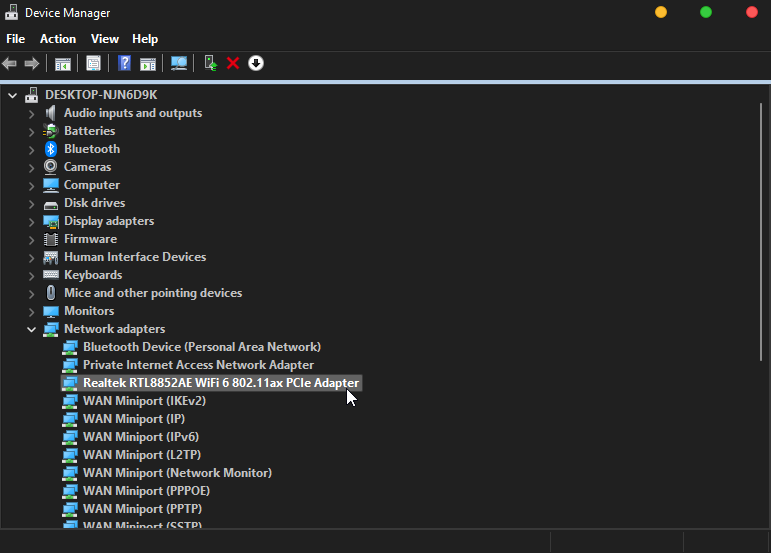
- Now I would search Google for 'Realtek RTL8842AE driver' and most likely would be able to locate and download the driver, preferably from the manufacturer's website directly.
- You can also go to your laptop, or motherboard Manufacturer's website, they will have a section for driver downloads, where you will be able to download drivers specifically made for your Network Adapter.
- These drivers will most likely be newer, and hopefully work better for your pc than the one's provided in a Stock Windows build (I have had problems with MS provided drivers, which is the main reason I choose not to include them in some builds. My Network Adapter ceased to function completely with MS's provided drivers, I had to remove them, and install manufacturer provided updated drivers for my Network Adapter to work again.)
**After you write the iso to USB, before you do a clean install on your PC, transfer the driver (.exe file) to the USB first, then after you finish installing the new Windows OS on your PC, you can transfer the Network Adapter Driver from your USB stick, to your Hard Drive, before you unplug it. Then you can run the .exe file, and install the Network Adapter driver, so your PC can connect to the internet.
All you need to do, is download the correct driver for your specific Network Adapter, and copy it to your USB drive, before you install a new OS on your PC, by doing the following:
- Right click on the start button (windows icon, bottom left hand side of screen typically) and go to 'Device Manager'
- Expand the 'Network adapters' category, and look for something in the list that looks like this:

- Now I would search Google for 'Realtek RTL8842AE driver' and most likely would be able to locate and download the driver, preferably from the manufacturer's website directly.
- You can also go to your laptop, or motherboard Manufacturer's website, they will have a section for driver downloads, where you will be able to download drivers specifically made for your Network Adapter.
- These drivers will most likely be newer, and hopefully work better for your pc than the one's provided in a Stock Windows build (I have had problems with MS provided drivers, which is the main reason I choose not to include them in some builds. My Network Adapter ceased to function completely with MS's provided drivers, I had to remove them, and install manufacturer provided updated drivers for my Network Adapter to work again.)
**After you write the iso to USB, before you do a clean install on your PC, transfer the driver (.exe file) to the USB first, then after you finish installing the new Windows OS on your PC, you can transfer the Network Adapter Driver from your USB stick, to your Hard Drive, before you unplug it. Then you can run the .exe file, and install the Network Adapter driver, so your PC can connect to the internet.
The Windows Setup environment (boot.wim) in my releases is a basic, reduced version that saves hundreds of MB from the original MS boot.wim setup file.
Personally, I've never had a failed install, or setup issues on any of my PC's, ranging from 10 year old laptops, to brand new ones, with HDD, SSD, and NVMe Storage, AMD and Intel CPU's, and both MBR, and GPT partitioned drives.
If you are having issues, please try the following with any of my custom builds, or any other custom build for that matter that you are having an issue installing on your pc:
For anyone who's having / had issues installing my builds! Read This!
Use Rufus. Leave default settings if you have GPT Partitioned HDD (UEFI).
Change settings to the following, if MBR partitioned HDD (BIOS):
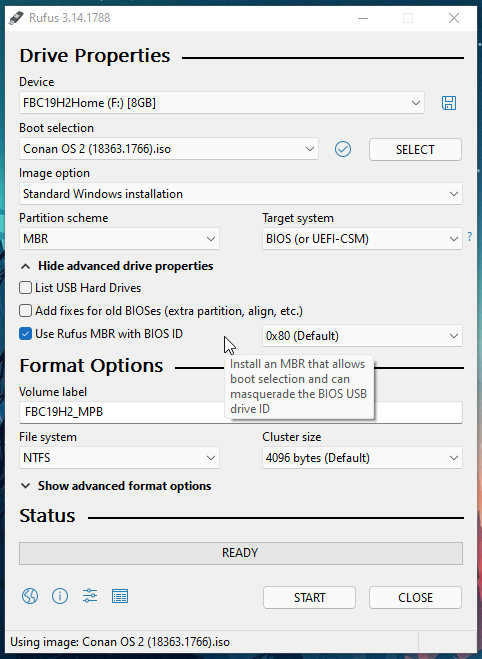
I can confirm, This works on both my MBR, and GPT systems, 10 years old, to brand new.
**Switch USB Ports if getting no driver error**
If that doesn't work, you can download a stock win 10 iso using MS's media creation tool, open the iso from MS in poweriso, go into the sources folder, delete the 'install.esd' or 'install.wim' file. (but still keep the iso open in PowerISO)
Then using 7zip, extract my iso, and put the autounnated.xml file from my root folder, into the root folder of the iso you have open in PowerISO, and the install.esd file that's in my sources folder, into the sources folder of PowerISO, then save as new iso. Try writing that to a USB. Should fix your issues.
You can drag files from File Explorer to PowerISO to copy over.
I also highly recommend that you copy the $OEM$ folder located in my iso's 'sources' folder, to the PowerISO's 'sources' folder before saving the new ISO, to transfer over any optional software included in my builds (ie, Web Browsers, activators etc.)
Personally, I've never had a failed install, or setup issues on any of my PC's, ranging from 10 year old laptops, to brand new ones, with HDD, SSD, and NVMe Storage, AMD and Intel CPU's, and both MBR, and GPT partitioned drives.
If you are having issues, please try the following with any of my custom builds, or any other custom build for that matter that you are having an issue installing on your pc:
For anyone who's having / had issues installing my builds! Read This!
Use Rufus. Leave default settings if you have GPT Partitioned HDD (UEFI).
Change settings to the following, if MBR partitioned HDD (BIOS):

I can confirm, This works on both my MBR, and GPT systems, 10 years old, to brand new.
**Switch USB Ports if getting no driver error**
If that doesn't work, you can download a stock win 10 iso using MS's media creation tool, open the iso from MS in poweriso, go into the sources folder, delete the 'install.esd' or 'install.wim' file. (but still keep the iso open in PowerISO)
Then using 7zip, extract my iso, and put the autounnated.xml file from my root folder, into the root folder of the iso you have open in PowerISO, and the install.esd file that's in my sources folder, into the sources folder of PowerISO, then save as new iso. Try writing that to a USB. Should fix your issues.
You can drag files from File Explorer to PowerISO to copy over.
I also highly recommend that you copy the $OEM$ folder located in my iso's 'sources' folder, to the PowerISO's 'sources' folder before saving the new ISO, to transfer over any optional software included in my builds (ie, Web Browsers, activators etc.)
If you're having issues installing additional language packs, please follow this guide exactly, this method works flawlessly for me in my testing.
Step 1
Turn On Metered Connection.
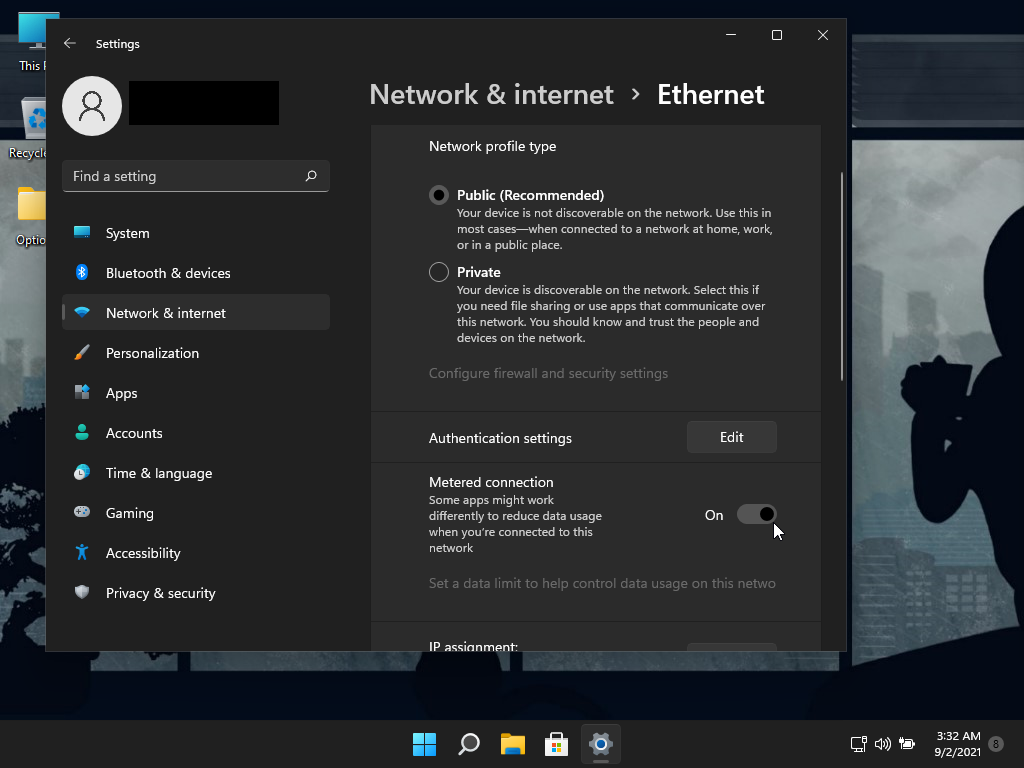
Step 2
Select an additional language to install
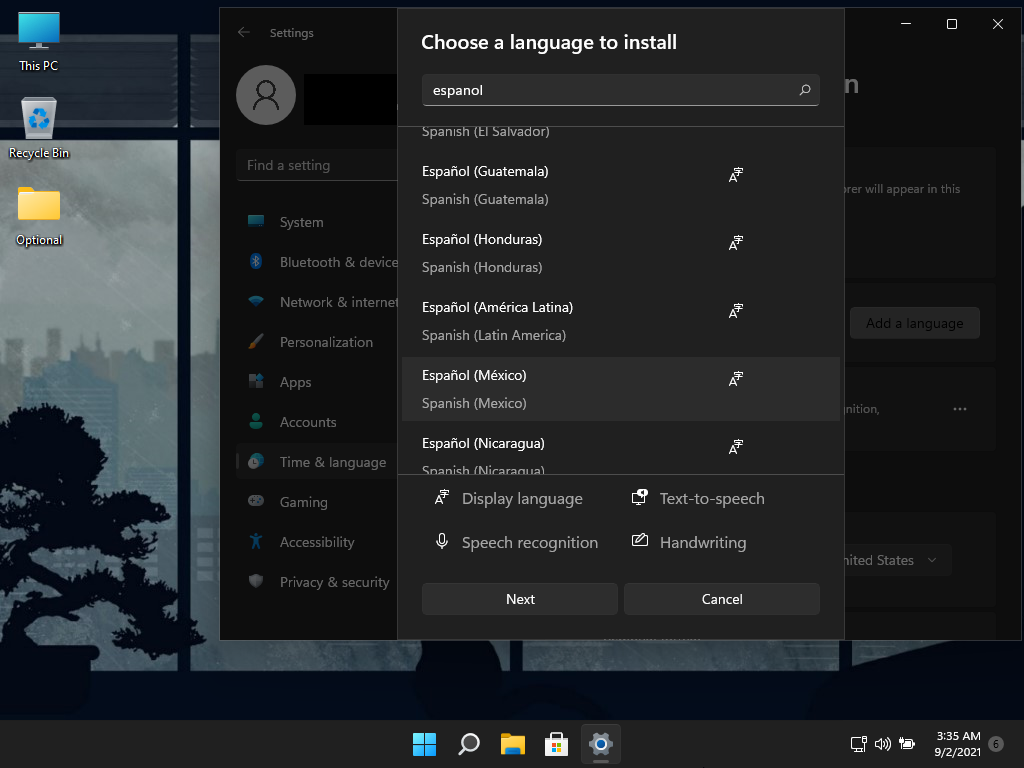
Step 3 (IMPORTANT)
DO NOT check the box 'Set as my Winodws display langauge', and click Install
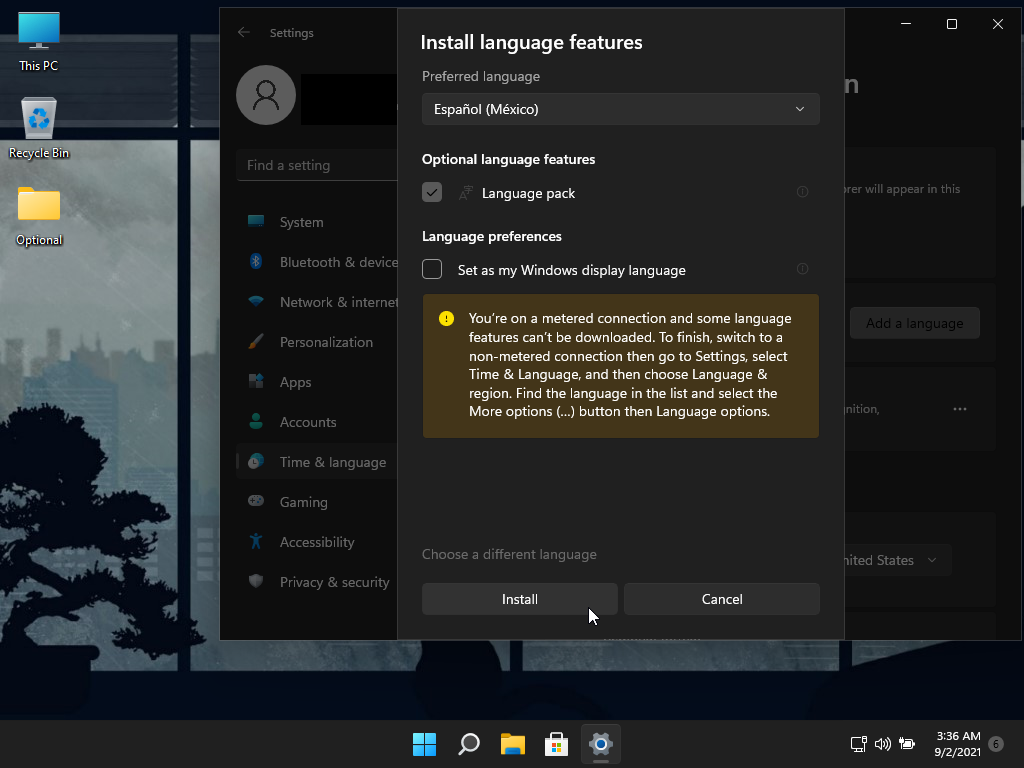
Step 4 (IMPORTANT)
After desired language pack(s) are installed, DO NOT set them as your Winodws Display language yet.
Reboot your PC first. After your PC has been rebooted, then you can proceed to change the Windows Display Language from English, to your desired language, followed by the Prompt to Sign out to apply language settings.
The Screen Shots below show I have 4 languages Installed. After following this tutorial, I was able to change languages, and restart my PC without any issues.
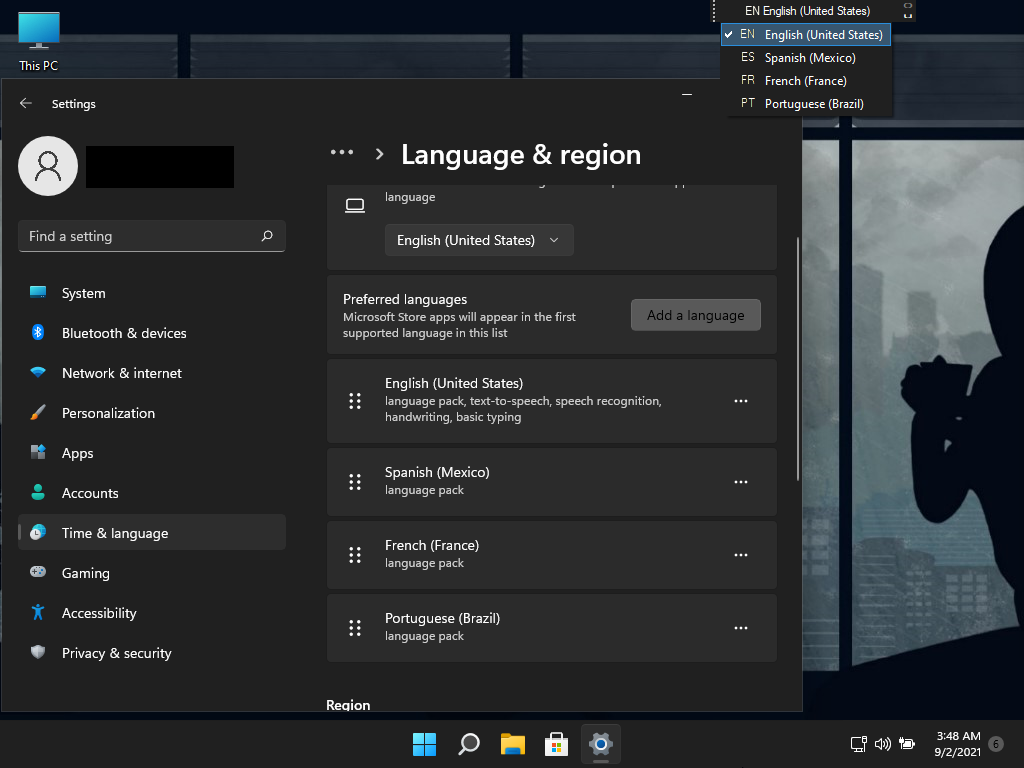
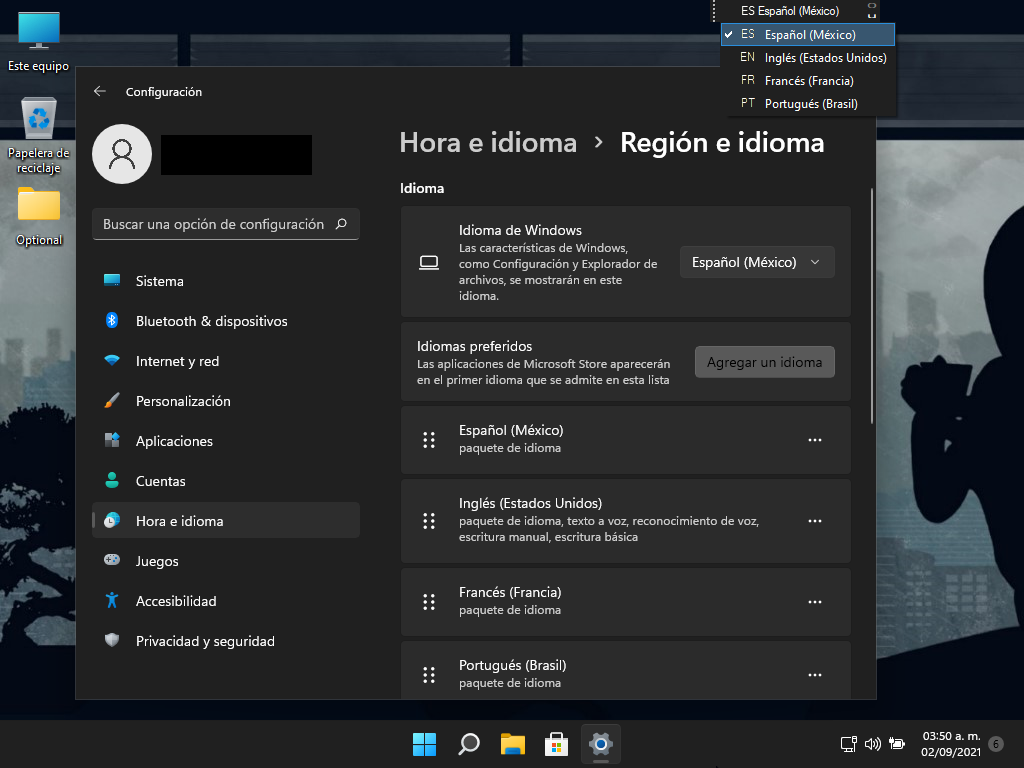
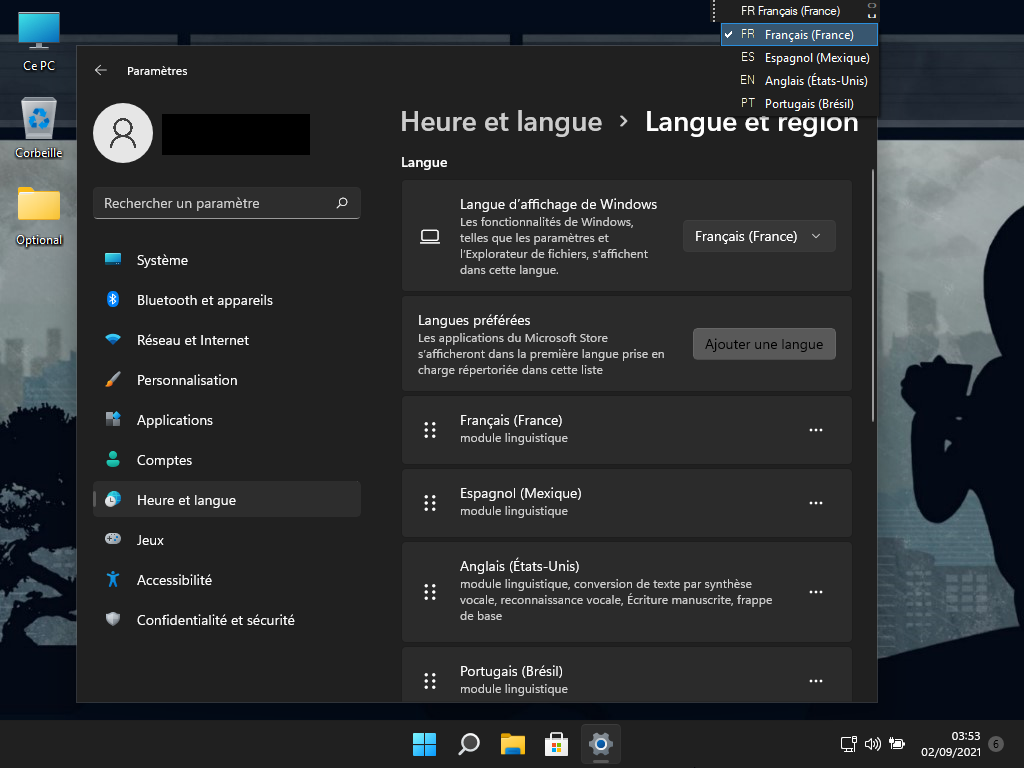
Now your PC will be able to safely shut down and restart without issues.
Step 1
Turn On Metered Connection.

Step 2
Select an additional language to install

Step 3 (IMPORTANT)
DO NOT check the box 'Set as my Winodws display langauge', and click Install

Step 4 (IMPORTANT)
After desired language pack(s) are installed, DO NOT set them as your Winodws Display language yet.
Reboot your PC first. After your PC has been rebooted, then you can proceed to change the Windows Display Language from English, to your desired language, followed by the Prompt to Sign out to apply language settings.
The Screen Shots below show I have 4 languages Installed. After following this tutorial, I was able to change languages, and restart my PC without any issues.


Now your PC will be able to safely shut down and restart without issues.
To sign into your XBOX account if the sign in button isn't working in the App, follow these instructions please:
Go to: Settings - Accounts - Your Info - Account Settings - Sign in with a Microsoft Account Instead, then enter your account name and password, followed by Add PIN prompt, (PIN Window will appear in Background FYI) then load up XBOX app and your account will be signed in.
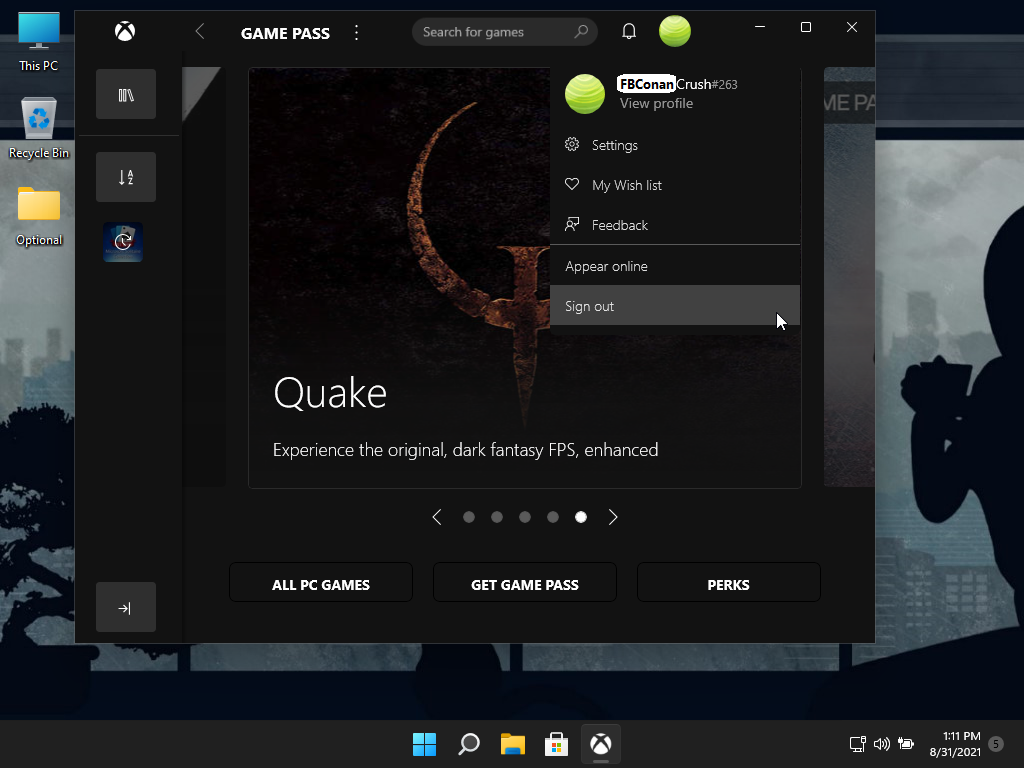
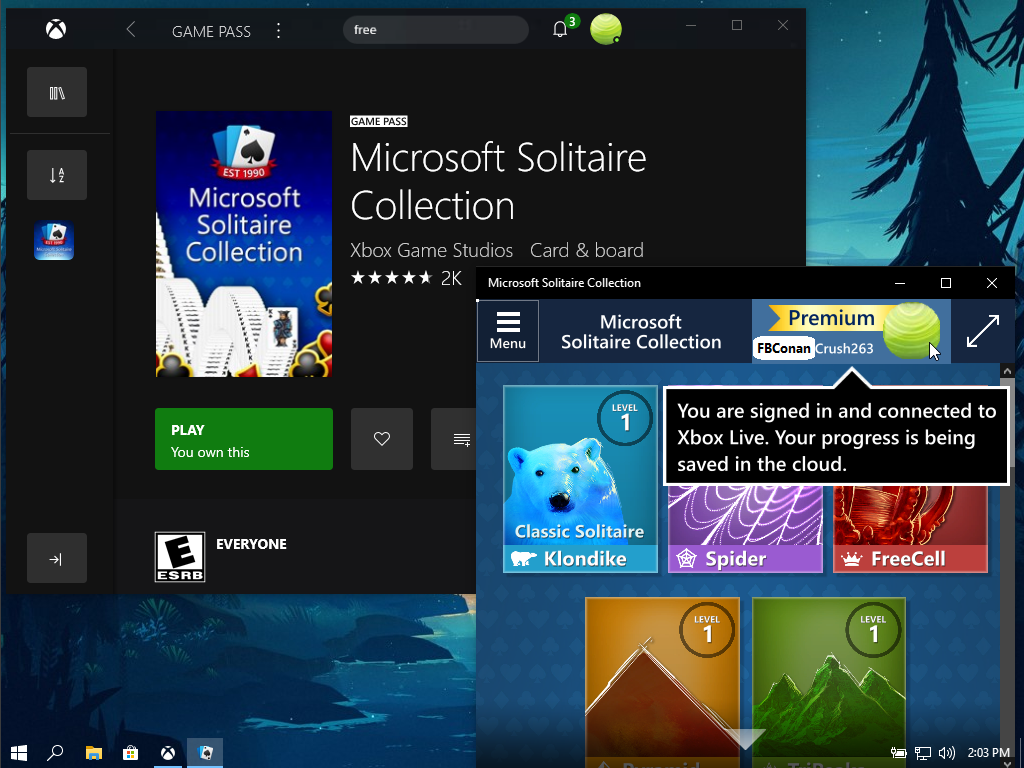
Go to: Settings - Accounts - Your Info - Account Settings - Sign in with a Microsoft Account Instead, then enter your account name and password, followed by Add PIN prompt, (PIN Window will appear in Background FYI) then load up XBOX app and your account will be signed in.


This build project was my first collaboration, it was awesome to work with my friend @Hiddenbars , and our two visions combined to produce the 'Neon Gamer Edition' Build, which we both hope rocks your world!
Please carefully read ALL the included info, and disclaimers before deciding to use this build.
Source: @FBConan

Copyright Disclaimer:
This site does not store any files on its server. We only index and link to content provided by other sites. Please contact the content providers to delete copyright contents if any and email us, we'll remove relevant links or contents immediately.